All posts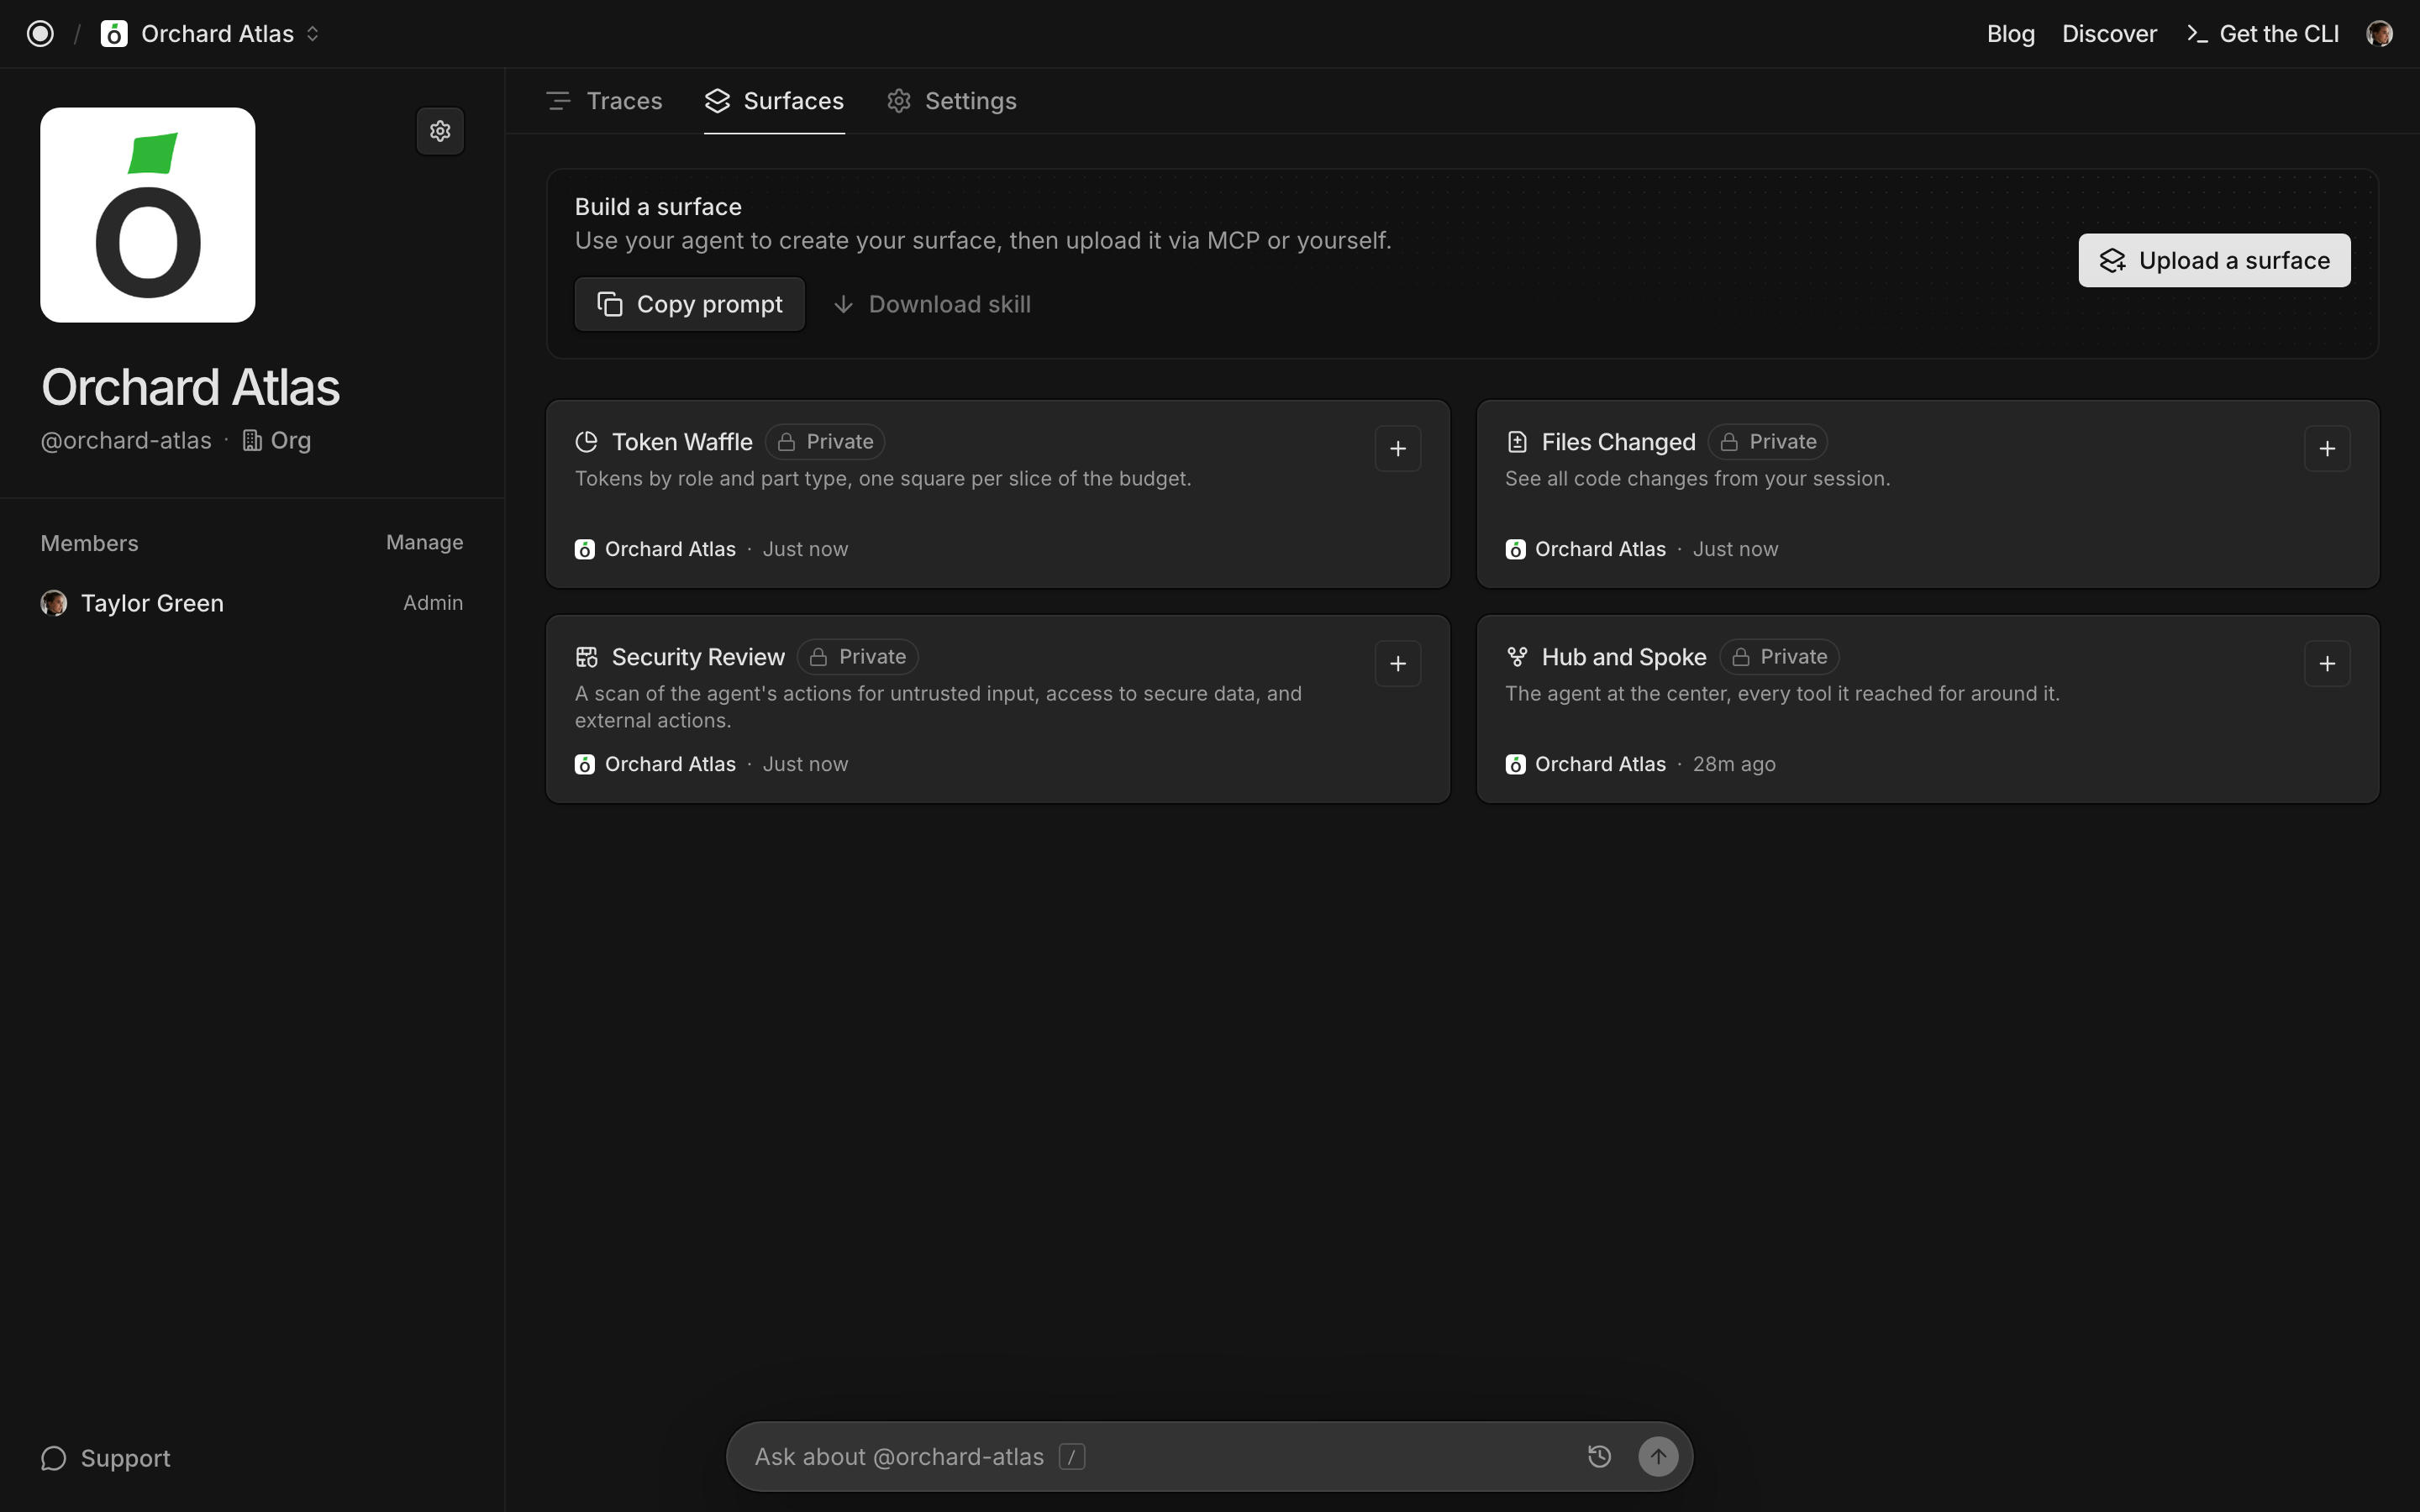
Create a Surface on Traces.com
Traces Team
4 min readA few weeks ago we launched Surfaces on Traces, a new way to view session activity on Traces.com. We initially launched with surfaces to view Files Changed, Security Review, Skills, and Token Usage, and got some incredible feedback from our community.
We're excited to announce that now any team can create their own Surface on Traces.com!
How Surfaces Work
Each is a single HTML file that renders one trace.
The file gets the trace through one call, window.traces.getTrace(), which resolves with the messages, tool calls, thinking, token usage, and file changes. Everything else is plain HTML, CSS, and JavaScript. That's why your coding agent can write one for you.
Build surfaces with your agent
Go to traces.com/surfaces/create [blocked]. From there you can:
- Copy prompt: a one line prompt to paste into any coding agent.
- Download skill: the same instruction as a
SKILL.mdfor agents that support skills.
Both point your agent at traces.com/surfaces.md, which guides your agent on how to build surfaces. It covers the data contract, the sandbox rules, and the visual conventions, so the first draft renders correctly and looks like it belongs on the trace page.
Then tell the agent what surface you want to create. For example:
Build a surface that creates a hub and spoke view of my traces.
You can combine these steps and that will work too:
Use traces.com/surfaces.md to build a surface that creates a hub and spoke view of my traces.
When you're ready, let your agent build the HTML file. Now, we need to publish.
Publish via the create page
On the Create page, fill in the form:
- ID. A short, globally unique key like
hub-and-spoke. It's how the surface is addressed everywhere. It'll be used for its page attraces.com/surfaces/hub-and-spoke, and will be the key your agent passes to the MCP. This is permanent once created. - Title, Description, Icon. What people see on the surfaces tab. You can edit this.
- Owner. This is you or one of your teams. This decides who can manage the surface.
- Surface HTML. Drop in the HTML file. It becomes version
1.0.0. - Visibility. Pick Just for my team, which means only namespace members can see or use, Everyone, which makes it publicly visible on the Surfaces page.
Click create surface.
Once you've done that, open any of your traces, click the + next to the surface tabs, and your new surface is now in the list. Add it and you're looking at your trace through the view you described.
Publish via MCP
If you'd rather your agent also handled publishing, install the Traces MCP. The Create page has the command ready to copy or you can use:
npx add-mcp https://mcp.traces.com
You can also just ask your agent:
Set up the Traces MCP via mcp.traces.com
The first time it connects, Traces opens in your browser; sign in and approve surfaces:write access. If you've already been using the MCP you'll have to re-auth these additional permissions, and your agent will guide you through that. After that, the agent that wrote the surface can also ship it:
- Upload. The agent prepares an upload for your surface's ID and a version (
traces_surfaces_prepare_upload), sends the HTML file, and completes it (traces_surfaces_complete_upload). Nothing changes for anyone yet. - Preview. The tool returns a link that opens the new version on one of your traces. Ask for changes and the agent bumps the version and uploads again.
- Release. When it's right, the agent calls
traces_surfaces_release_versionand that version becomes the one everyone sees.
The MCP connection is scoped to one namespace. Every surface created through it belongs to that namespace.
See the surfaces you've made
You can see all the surfaces you've built at the new Surfaces tab in your organization.
Coming next
When you feel you have a Surface that might be useful for others, share it for others to use. Multi-trace surfaces, surfaces with classification, and so much more are up next!
The view your team keeps wishing for now takes ten minutes to make. No sprint. No email back and forth with a vendor for a custom view. Just one conversation with any of your agents. Build one, and let us know what you learn. Start at traces.com/surfaces/create.